
Getting your home ready for an inspection isn't just about a last-minute cleaning spree. It’s about being smart—fixing the small stuff, making sure the inspector can get to everything, and having your paperwork in order. This is how you build a buyer's confidence and keep your sale from hitting a surprise snag.
Why You Can't Afford to Skip Home Inspection Prep
A home inspection feels like the final exam for your house, and honestly, it pretty much is. The inspector's report has a huge impact on the buyer's peace of mind. It can either smooth the way to closing day or send everyone right back to the negotiating table. Prepping your home isn't just for show; it's a sign that you're a responsible homeowner who has nothing to hide.
Think about it from the buyer's perspective. Their inspector shows up and can't even get to the electrical panel because you've got heavy shelves blocking it. Right away, that creates suspicion and an incomplete report, which often means you're on the hook for a second, costly visit. Little things you've learned to live with—a slow drip under the sink, a window that sticks—can pile up on a report, creating a laundry list that scares off a buyer or gives them the ammunition to ask for a big price cut.
The Financial and Emotional Stakes
The numbers don't lie. According to Grand View Research, the global market for home inspection services was valued at approximately USD 4.5 billion and is projected to grow significantly. With a vast majority of U.S. home buyers getting an inspection, it’s clear this is a step people take seriously. Buyers want proof that they're making a sound investment.
Putting in the time to prep, especially for the big-ticket items like the roof, is absolutely crucial. A professional roofer can give you a clear picture of its condition before the buyer's inspector ever sets foot on your property. This lets you get ahead of major red flags that can kill a deal. If you need a starting point, you can find some great expert roofing inspection advice to make sure you're covered.
When you fix the common problems inspectors look for, you're doing more than just maintenance. You’re shaping the buyer’s entire perception of your home, showing them it's a solid, well-cared-for property.
At the end of the day, knowing how to get ready for a home inspection is all about controlling the story of your sale. It's an essential strategy for protecting your equity, dodging last-minute headaches, and getting to the closing table faster.
Give Your Inspector Unrestricted Access
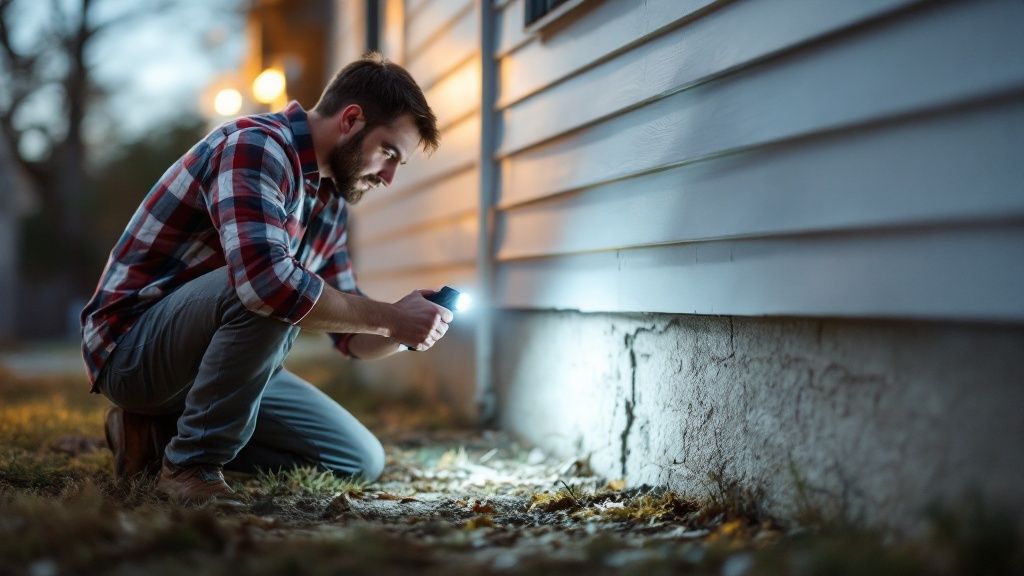
Imagine this scenario: the home inspector arrives, clipboard in hand, ready to get to work, only to find the electrical panel completely blocked by a mountain of storage boxes. It happens more often than you'd think.
An inspector's job is to conduct a thorough, objective assessment of your property, and they simply can't inspect what they can't see or reach. Blocked access is one of the most common—and easily avoidable—frustrations that can pop up during an inspection.
When an area is marked as "inaccessible" on the final report, it immediately creates uncertainty for the buyer. It can trigger a request for a follow-up visit (which you'll likely have to pay for) and, worse, plant a seed of doubt: "What's being hidden back there?"
Creating a Clear Path for Inspection
You need to give the inspector a clear runway. The goal is to provide at least a three-foot radius of clear space around all major systems and access points. This isn't just a suggestion; it’s a practical necessity for the inspector to work safely and effectively.
Think about the path they will take through your home and clear it of clutter, furniture, or any personal items that could get in the way.
Key areas that demand a wide berth include:
- Mechanical Systems: Your furnace, water heater, and HVAC units are primary focus points. Clear any laundry baskets, storage bins, or old furniture away from them.
- Electrical Panels: Inspectors absolutely must open the panel box to check the wiring and breakers. Don't let anything be stacked or leaning against it.
- Attics and Crawl Spaces: If the hatch is in a closet, remove clothing and boxes so it can be opened without a struggle. The same goes for crawl space entrances, which are often obscured by forgotten junk.
- Under Sinks: Clear out the jungle of cleaning supplies and personal items from under all kitchen and bathroom sinks. This allows the inspector to get a good look at the plumbing and check for leaks.
An inspector’s job is to find potential issues. Your job is to make their work as straightforward as possible. This simple courtesy reduces suspicion and helps build a foundation of trust with the buyer.
To help you get ready, I've put together a quick checklist. Run through this the day before the inspection to make sure you haven't missed anything.
Home Inspection Accessibility Checklist
| Area of Focus | What to Check | Why It's Important |
|---|---|---|
| Mechanical Room | Clear a 3-foot space around the furnace, boiler, and water heater. | The inspector needs room to operate controls, check connections, and read data plates. |
| Electrical Panel | Ensure the panel door can open fully (at least 90 degrees) with no obstructions in front. | They must access the interior of the panel to check breakers, wiring, and for any safety hazards. |
| Attic Access | Remove all items from closets below the hatch; ensure ladders are accessible if needed. | Blocked hatches mean no attic inspection, which can be a huge red flag for buyers worried about roof leaks or insulation. |
| Crawl Space | Clear the entry point of any storage, debris, or overgrown landscaping. | The inspector needs to get inside to check the foundation, plumbing, and for signs of moisture or pests. |
| Under Sinks | Empty cabinets under all kitchen and bathroom sinks. | This provides a clear view of plumbing pipes, drains, and shut-off valves, making leaks easy to spot. |
| Outdoor Access | Unlock all gates to side yards, sheds, and utility areas. | The inspector needs to see everything, including outdoor AC units, faucets, and electrical outlets. |
This table covers the big items, but the principle is simple: if you think they might need to look at it, make sure they can get to it.
Why This Matters for a Smooth Sale
An inaccessible system doesn't just get a footnote in the report; it can halt the entire process. If the inspector can't test the furnace because it's boxed in, a nervous buyer might assume the worst and demand a credit for a brand-new unit as a precaution.
Providing full access shows you're transparent and have nothing to hide.
Do a final walkthrough right before the inspector is scheduled to arrive. It's a simple act of courtesy that demonstrates you're prepared and confident in your home’s condition, setting a positive tone for one of the most critical steps in your selling journey. A little preparation here prevents major headaches later.
Fixing the Most Common Inspection Red Flags
Once you’ve cleared the way to your home’s key systems, it's time to tackle the small, predictable issues that always seem to pop up on inspection reports. Think of these as the "low-hanging fruit" of home prep. If you ignore them, they can snowball into a long, intimidating list that gives a buyer some serious leverage to negotiate your price down.
By proactively knocking out these minor red flags, you're sending a powerful message: this home has been cared for. It's all about preventing a molehill of tiny problems from looking like a mountain to a potential buyer.
Proactive Plumbing and Electrical Fixes
I can tell you from experience, plumbing and electrical items are some of the easiest things for an inspector to spot, and they often cause the most anxiety for buyers. A slow-draining sink might be a minor annoyance to you, but a buyer sees it as a sign of potential hidden problems.
Start in your bathrooms and kitchen. Get on your hands and knees and look for any sign of a leak under the sinks—even a slow, tiny drip will get noted and can cause water damage over time. Test every single faucet for decent water pressure and make sure toilets flush properly without running forever. A worn toilet flapper is an incredibly cheap and easy fix that eliminates one of the most common flags I see.
Next up, the electrical. Do a walkthrough of your entire home and test every light switch and outlet. A dead outlet could be a simple fix or hint at a bigger issue, but an inspector will always flag it. Pay special attention to your GFCI (Ground Fault Circuit Interrupter) outlets. These are the ones with the "Test" and "Reset" buttons, usually found near water in kitchens, bathrooms, and garages. Press both buttons to make sure they trip and reset correctly. Swapping out a faulty one is a quick job for a handy DIYer or an electrician.
HVAC and Exterior Maintenance
Your heating and cooling system is a big-ticket item on any inspection. The inspector will test both the heat and the A/C, so you want to make sure they're both ready to perform. The simplest, most critical thing you can do here? Replace the furnace filter. Seriously. A dirty, clogged filter doesn't just restrict airflow; it screams "neglect" to an inspector.
Head outside and shift your focus to water and safety. Clean out your gutters and downspouts so water flows freely away from your foundation. Any evidence of water pooling near the house is a huge red flag for potential foundation trouble. While you're out there, check that all exterior doors and windows open, close, and lock the way they should. Fixing a cracked windowpane or replacing some worn weatherstripping is a small investment that makes a big first impression.
This infographic breaks down a simple testing process for your home's core systems.
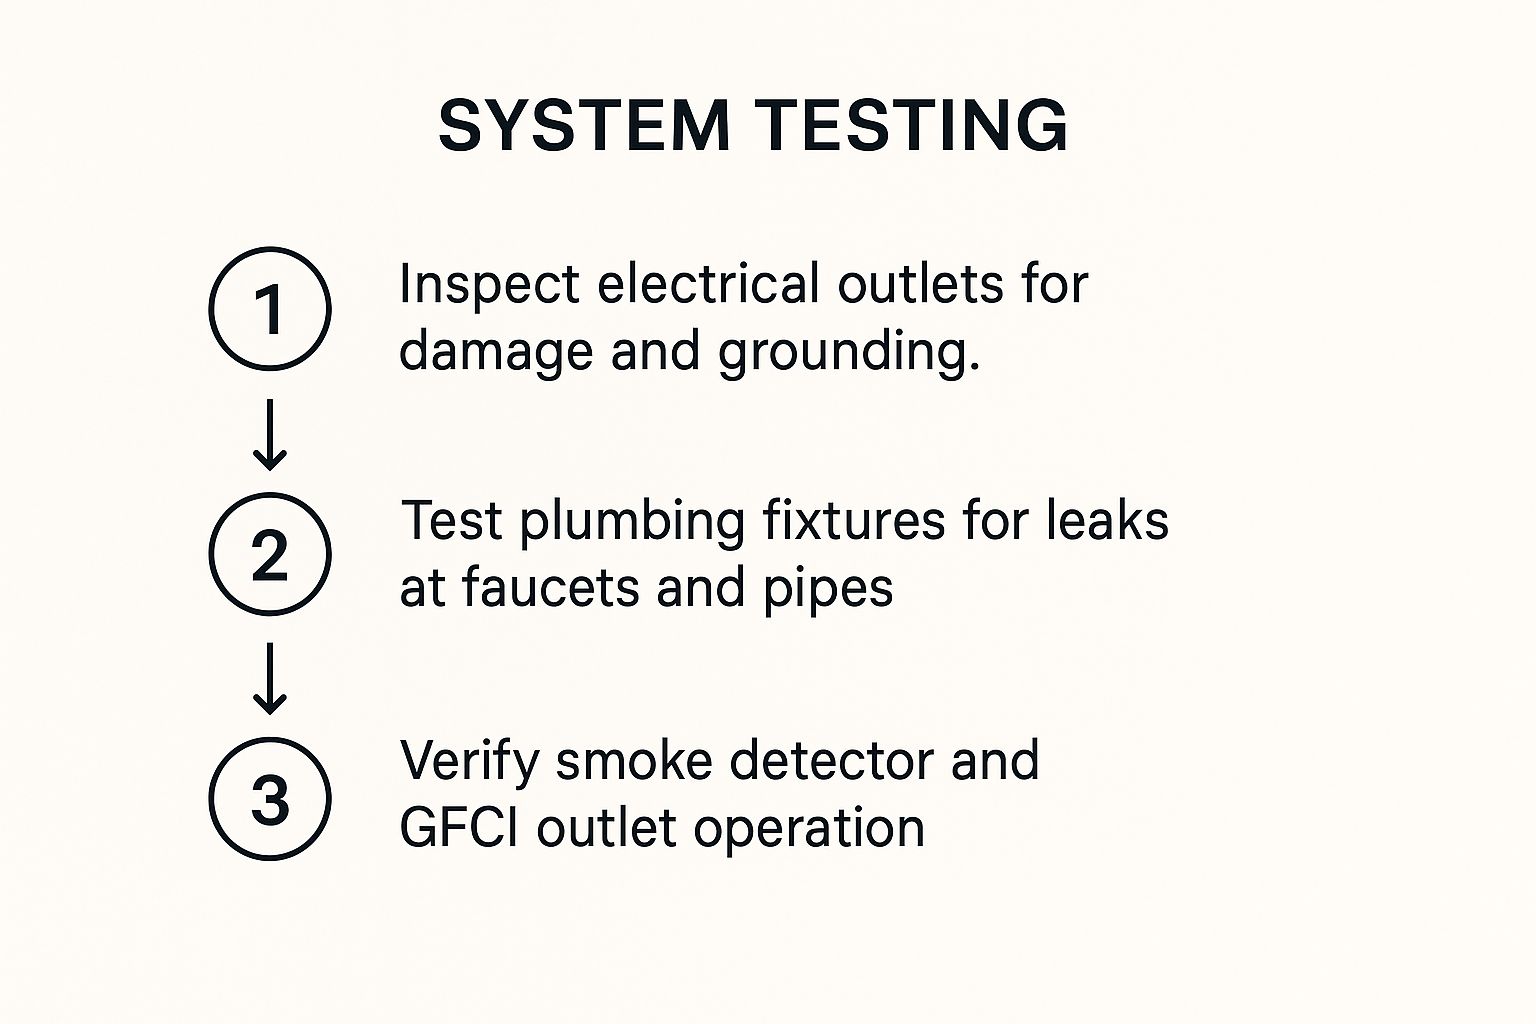
This visual guide really highlights the essential DIY checks that can stop common inspection issues from ever making it onto the final report.
The Bigger Picture of Minor Repairs
Tackling these fixes is just a non-negotiable part of the home selling process these days. According to a survey by the American Society of Home Inspectors (ASHI), a significant majority of homebuyers opt for a home inspection. These inspections are a standard, make-or-break part of nearly every real estate transaction. You can check out more details about the prevalence of home inspections.
By addressing common red flags, you are controlling the narrative of your home's condition. A clean report, free of minor annoyances, tells a buyer that the property is solid and has been well cared for.
Ultimately, this prep work is all about building confidence. A buyer who walks through a well-maintained home is far less likely to be spooked by the inspection or try to nickel-and-dime you on every little thing. Spending a weekend on these small tasks can literally save you thousands of dollars and countless headaches during negotiations, paving the way for a much smoother sale.
Powering Up Your Home for Inspection Day

Here's something every seller needs to understand about home inspectors: if they can't turn it on, they can't test it. It’s that simple. When an inspector can't operate a system, it doesn’t get marked as “broken,” but rather as “not inspected.” And trust me, that one little phrase can send a buyer’s imagination running wild, often leading them to assume the worst and ask for concessions.
To head this off, your main goal is to create a fully functional testing ground for the inspector. That starts with the absolute basics: make sure the gas, water, and electricity are all on and running. This sounds obvious, but it’s a surprisingly common oversight, especially in vacant homes. Getting this right is a foundational step in preparing your home for inspection.
Creating the Ideal Testing Environment
With the main utilities squared away, it's time to zoom in on the details that allow for a complete system check. For instance, if you have gas appliances like a furnace, water heater, or fireplace, double-check that all the pilot lights are lit before the inspector shows up. An unlit pilot light means the appliance can't be tested, and you can bet that will be noted in the report.
This same logic applies to everything in the house. The inspector will need to run the HVAC through both its heating and cooling cycles, so make it easy for them.
- Fresh Batteries: Pop some new batteries in the thermostat. The last thing you want is for the inspector to be unable to turn on the heat because of a dead AA.
- Remote Controls: Gather up any remotes for ceiling fans, garage doors, or mini-split AC units and leave them in a highly visible spot, like the kitchen counter.
- Light Bulbs: Walk through every room and replace any burnt-out light bulbs. An inspector checks every single light fixture, and a non-working bulb could get flagged as a potential electrical problem when it’s really just a two-dollar fix.
An inspector's job isn't to pass or fail your home. It's to report on its current condition. By making sure every switch, faucet, and system is ready to go, you help them create an accurate and complete report, which goes a long way in building buyer confidence.
Verifying Your Electrical Systems
The inspector will give your electrical system a thorough workout, testing outlets, switches, and the electrical panel itself. To sidestep any surprises, it’s a smart move to learn how to check for a bad circuit breaker beforehand.
Doing a proactive sweep lets you catch minor issues before they become red flags on a report. At the end of the day, the more systems the inspector can successfully test, the fewer questions a buyer will have. Powering everything up is a simple act that sets the stage for a transparent, positive inspection, moving you that much closer to a smooth closing.
Organizing Your Home's Paperwork
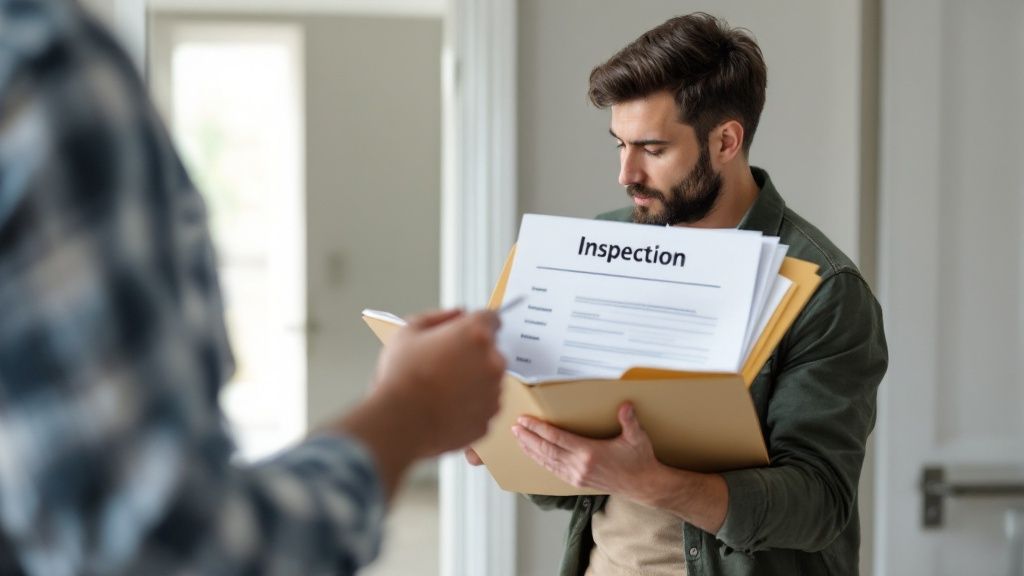
While the inspector is focused on the physical house, don't underestimate the power of paperwork. A well-organized file of documents tells a compelling story of responsible ownership long before the first question is even asked. It’s about building a buyer’s confidence and creating a narrative of a well-maintained property.
Think about it from the buyer's perspective. It’s one thing to say, "The roof is only five years old." It’s another thing entirely to hand them the warranty and the installer’s receipt. That level of transparency smooths over potential bumps in the road and shows you have nothing to hide.
Assembling Your Home's History File
Your mission is to create a comprehensive binder or digital folder that a buyer can easily flip through. This small effort can make a massive difference in how your home is perceived. For a deep dive into managing all your essential records, there's an excellent guide on how to organize important documents that I highly recommend.
Start by gathering these key items:
- Major System Paperwork: Pull together any warranties and service records for your HVAC system, water heater, and other major appliances staying with the house.
- Renovation Documentation: If you’ve tackled any big projects like a kitchen remodel or finishing the basement, find those permits. This is your proof that the work was done to code.
- Appliance Manuals: Leaving a neat stack of manuals for the oven, dishwasher, and fridge is a thoughtful touch that buyers genuinely appreciate.
- Pest Control Records: Have a termite bond or regular pest control service? Make sure that documentation is in the file.
Having your documents in order does more than just answer questions; it builds a foundation of trust. It shows you've been a diligent homeowner, which is exactly the kind of seller a buyer wants to work with.
This level of organization isn't just a nice-to-have anymore. With the industry shifting toward digital reporting and AI-assisted diagnostics, having clear, accessible records—whether in a binder or a Dropbox folder—shows you’re ahead of the curve.
A Few Common Home Inspection Questions
Even the most prepared seller has questions swirling around their head when it comes to the home inspection. It's totally normal. Knowing what to expect can really take the pressure off this final stretch, so let's walk through some of the most common questions we get from homeowners.
Should I Get a Pre-Listing Inspection Before I Sell?
This is a strategy we see more and more, and for good reason. Getting your own inspection done before you list can be a savvy move. It gives you a complete, honest look at your home’s condition from a professional's perspective, letting you tackle potential problems on your own schedule—not when you're up against a buyer's deadline.
Thinking proactively like this has some serious upsides:
- Smarter Pricing: When you know exactly what you're selling, you can price your home with confidence right from the get-go.
- Boosts Buyer Confidence: Handing a clean inspection report to potential buyers is a huge sign of good faith and transparency. It builds instant trust.
- No Last-Minute Surprises: This dramatically cuts down the risk of a buyer’s inspection uncovering a bombshell issue that could send negotiations into a tailspin.
Yes, it's an upfront cost, but many sellers find it pays for itself by paving the way for a much smoother sale. Just keep in mind that you'll likely have to disclose any major issues you find, depending on your state's disclosure laws.
What Repairs Are Mandatory After an Inspection?
This is a big one, and it causes a lot of anxiety. The simple answer is that no repairs are automatically mandatory just because they’re in the report. Legally speaking, an inspection report is just information for the buyer. But in the real world, repairs are a totally normal and expected part of the negotiation.
Buyers usually focus their requests on the big stuff: health and safety issues like bad wiring or mold, problems with major systems, or structural concerns. Lenders can also have their say—if your buyer is using a government-backed loan, the lender might require certain safety-related problems to be fixed before they’ll fund the loan. What you ultimately agree to fix comes down to the back-and-forth negotiation with the buyer, and it all gets written into the final contract.
A home inspection isn't a pass/fail exam. It's more like a detailed report card that kicks off the final round of negotiations before you cross the finish line.
How Long Does a Home Inspection Usually Take?
You can generally expect an inspector to be at your property for 2 to 4 hours for a typical, average-sized home (around 2,000 square feet). Of course, that timing can shift depending on the house itself.
Things like the home’s age, its sheer size, and any extra features—think pools, detached workshops, or guest houses—can definitely add more time to the clock. It’s also standard practice for sellers to leave during the inspection. Giving the inspector and the buyer space allows them to do a thorough job and talk freely without feeling like they're being watched.
Getting through the home inspection is just one piece of the puzzle. The team at ACME REAL ESTATE FLORIDA has the local knowledge and expertise to guide you through every single step. If you’re thinking about making a move, visit us at https://www.acmeflorida.com and let’s talk.

